


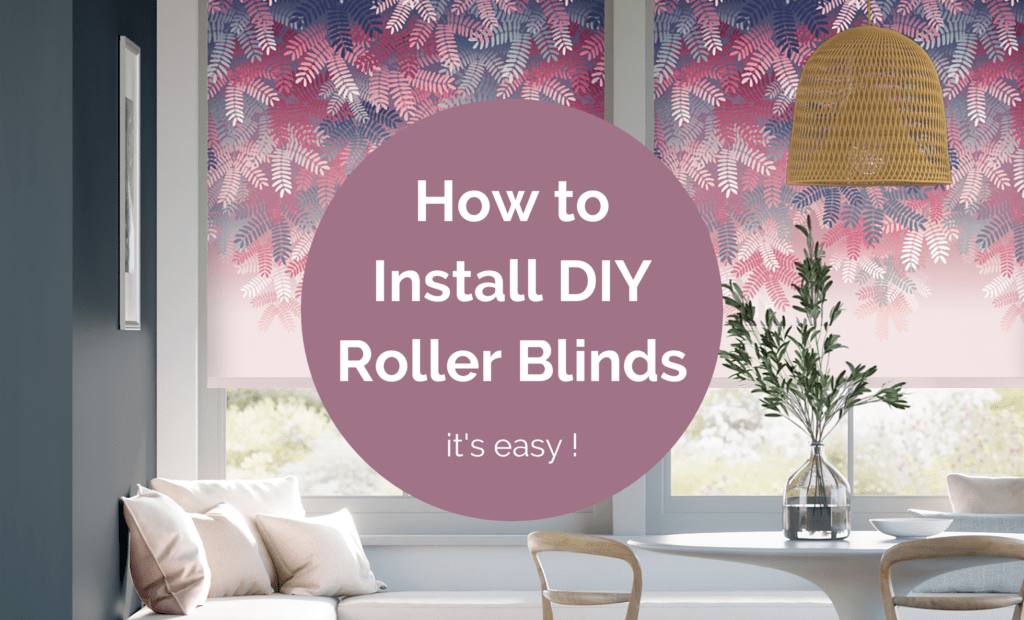
Have you been looking at upgrading your window furnishings and perhaps wondered whether it’s something that you could do yourself? We’re here to tell you that yes, you can absolutely install your own window furnishings. We’re going to show you how to install DIY roller blinds, and it’s much easier than you might think.
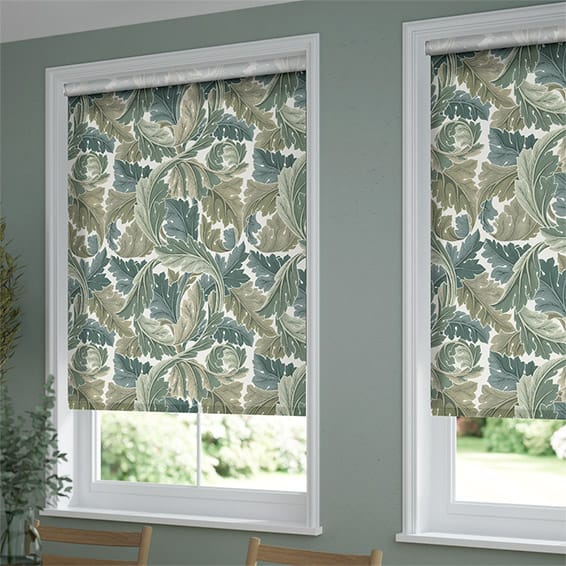
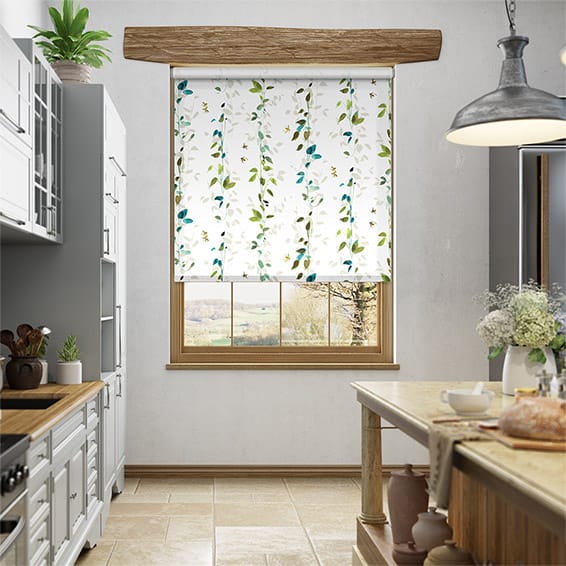
All of our blinds, curtains and shutters here at Tuiss are specifically designed for easy DIY installation. That means you can measure and install without needing anyone to come out to your home. It’s a great way to save money by ordering your blinds online and doing it yourself. Today we’re going to give you a quick look at how easy it is to install your own roller blinds. Even if you’ve never attempted to install blinds before, we can assure you that it’s a simple process that requires just a few tools and some easy to follow step-by-step instructions. Whether you want to know how to install blackout roller blinds, or sunscreen rollers, the process is the same!
How to install DIY roller blinds – STEP 1: WHAT TOOLS WILL I NEED?
We’ve got a list of things that will make your installation much easier. These are common tools that you might already have at home, particularly if you’ve been doing any of your own home renovations or room make-overs. If you don’t have them on hand, they can be picked up at your local hardware store quite inexpensively.
- Metal tape measure
- Cordless drill or screwdriver
- Pencil
- Scissors to carefully open packaging
If you’re not mounting to an architrave and going straight into plaster, you will also need the following:
- Plasterboard wall anchors
- Stud finder
STEP 2: WHAT COMES IN THE BOX?
If you’ve ordered more than one blind, each blind will be labelled with which room or window it’s for. Our tip is to make sure you’ve got the right one ready to go in the right place before we start.
In the box you’ll find the following:
- Roller blind in your chosen fabric
- 1 pair of brackets per blind
- Screws (6g x 25mm countersunk self tapping) – 2 for each bracket, plus we throw in a few extras just in case
- 1 child safety device per blind with 1 screw included

STEP 3: INSTALLATION
The day has come where your blinds have been delivered to your doorstep and you get to see how beautiful they will look in your home! Each of our products comes with step-by-step installation instructions complete with diagrams and these would have been emailed to you directly as a PDF.
You can also find the instructions on the product page where you placed your order under ‘Easy Fitting Guide’, which walks you through each step of how to install roller blinds.

Let’s get started!
- 1. First up, position your brackets. The brackets that you get with your roller blind can be face-fixed onto a wall or window frame, or top-fixed onto the ceiling or the underside of a recess.
2. If you’re fixing into a stud or timber frame, then you’re good to go, but remember that if you’re fixing straight into plaster you’ll need plasterboard anchors that you can pick up at your local hardware store.
3. Use your measuring tape to measure the distance between your brackets according to the width that you ordered your blind. Position the bracket on the wall and mark out the placement of the screw holes with a pencil so you can pre-drill your holes.
4. Insert your wall anchors if required, and then screw in your brackets so they are nice and sturdy. If you are pre-drilling, you’ll use a 3mm drill bit here.
Note: Be mindful of which side you ordered your control on, so you can put the brackets up on the correct sides (the instruction PDF will show a diagram of which bracket is which).
5. Once the brackets are up, it’s just a matter of fitting the blind. Simply slot the ‘control’ end of the blind into its bracket first, and then slot the ‘pin’ on the other side of the blind into the notch in its bracket. You’ll see and hear it click into place. It should all click in quite easily without needing to force anything into place.
6. Next, you’ll need to install the child safety device to ensure that the operating chains remain taut, as this safely prevents any risk of accidental strangulation. The exact measurements where this needs to be installed are all in your instructions. Attach the child safety device to the bottom of the chain. Hold the device against the wall and mark the location of the screw-holes with a pencil, like we did with the brackets, and then attach securely to the wall using the fixings provided.
That’s it! It’s time to step back, admire your beautiful new blinds and enjoy how much of a difference they’ve made to your room. You now know how to install DIY roller blinds!
If you’re installing motorised roller blinds, they’re even easier! There’s no chain control, and your remote comes pre-programmed and ready to go. So once your brackets are up, you click your blind into place and that’s it!
And when it comes time for cleaning, you can always check out our guide on How To Clean Roller Blinds.